A few tips to improve your photos.
First thing you need to do is buy the newest Canon/Nikon camera. Follow this up by adding the newest version of either the 24-70mm or the 70-200mm. Although this will set you back almost $6000 dollars this will improve your photos.
Ok, that first thought was how at some point we all think. There are benefits to having that gear, but for the average photographer one midlevel DSLR and a good lens will do just the job you need. Every one has their own style and may desire 2-5 lenses. But focus more on your photography with what you have and your photos will improve without hurting your wallet. So here are a few things that you can do to improve. I will add, as always, that I am no expert but these are things that I have done in order to get better photos.
First a few technical things that I didn't know starting out.
1. The Reciprocal Rule. (This one is huge, knowing this will help you get sharper photos.)
Min Shutter Speed (secs) = 1/Focal Length (mm).
So for a 50mm lens it is 1/50 sec.
For a 200mm Lens it would be 1/200 Sec
Now this rule is for full frame cameras. If you are shooting on a crop sensor these rules will change a bit. Here is how to figure out where you are at. If you crop camera is a 1.6 crop then your shutter speed is a little higher.
So a 50mm x 1.6 is 80mm so your shutter speed would be 1/8o sec.
One of the things that can help is if you have a lens with Image Stabilization (IS), Vibration Control (VC) or Optical Stabilization (OS). These are all the same things just different terms used but Canon, Tamron and Sigma.
If your lens does not have these think about either bracing yourself against a wall or using a tripod and you might be able to get a sharp image at a lower shutter.
2. The Rule of Thirds
Think of this, if you are looking through your view finder, think of your frame as nine little frames. Dividing your frame into thirds like the image below.

The idea of this is to use this as a way to place your subject. Some say that the ideal place is the four points which the lines intersect.

I shot the image above at a wedding last summer, I could have cropped it closer, but I wanted to have the large amount of negative space so the rain showed and your eye was brought to the bright point with the groom jumping.
In the photo below my friend Chris Hsieh of La Brisa Photographey nailed the rule of thirds in this beautiful portrait. Notice how her eye that is closest to you intersects with one of the imaginary lines.
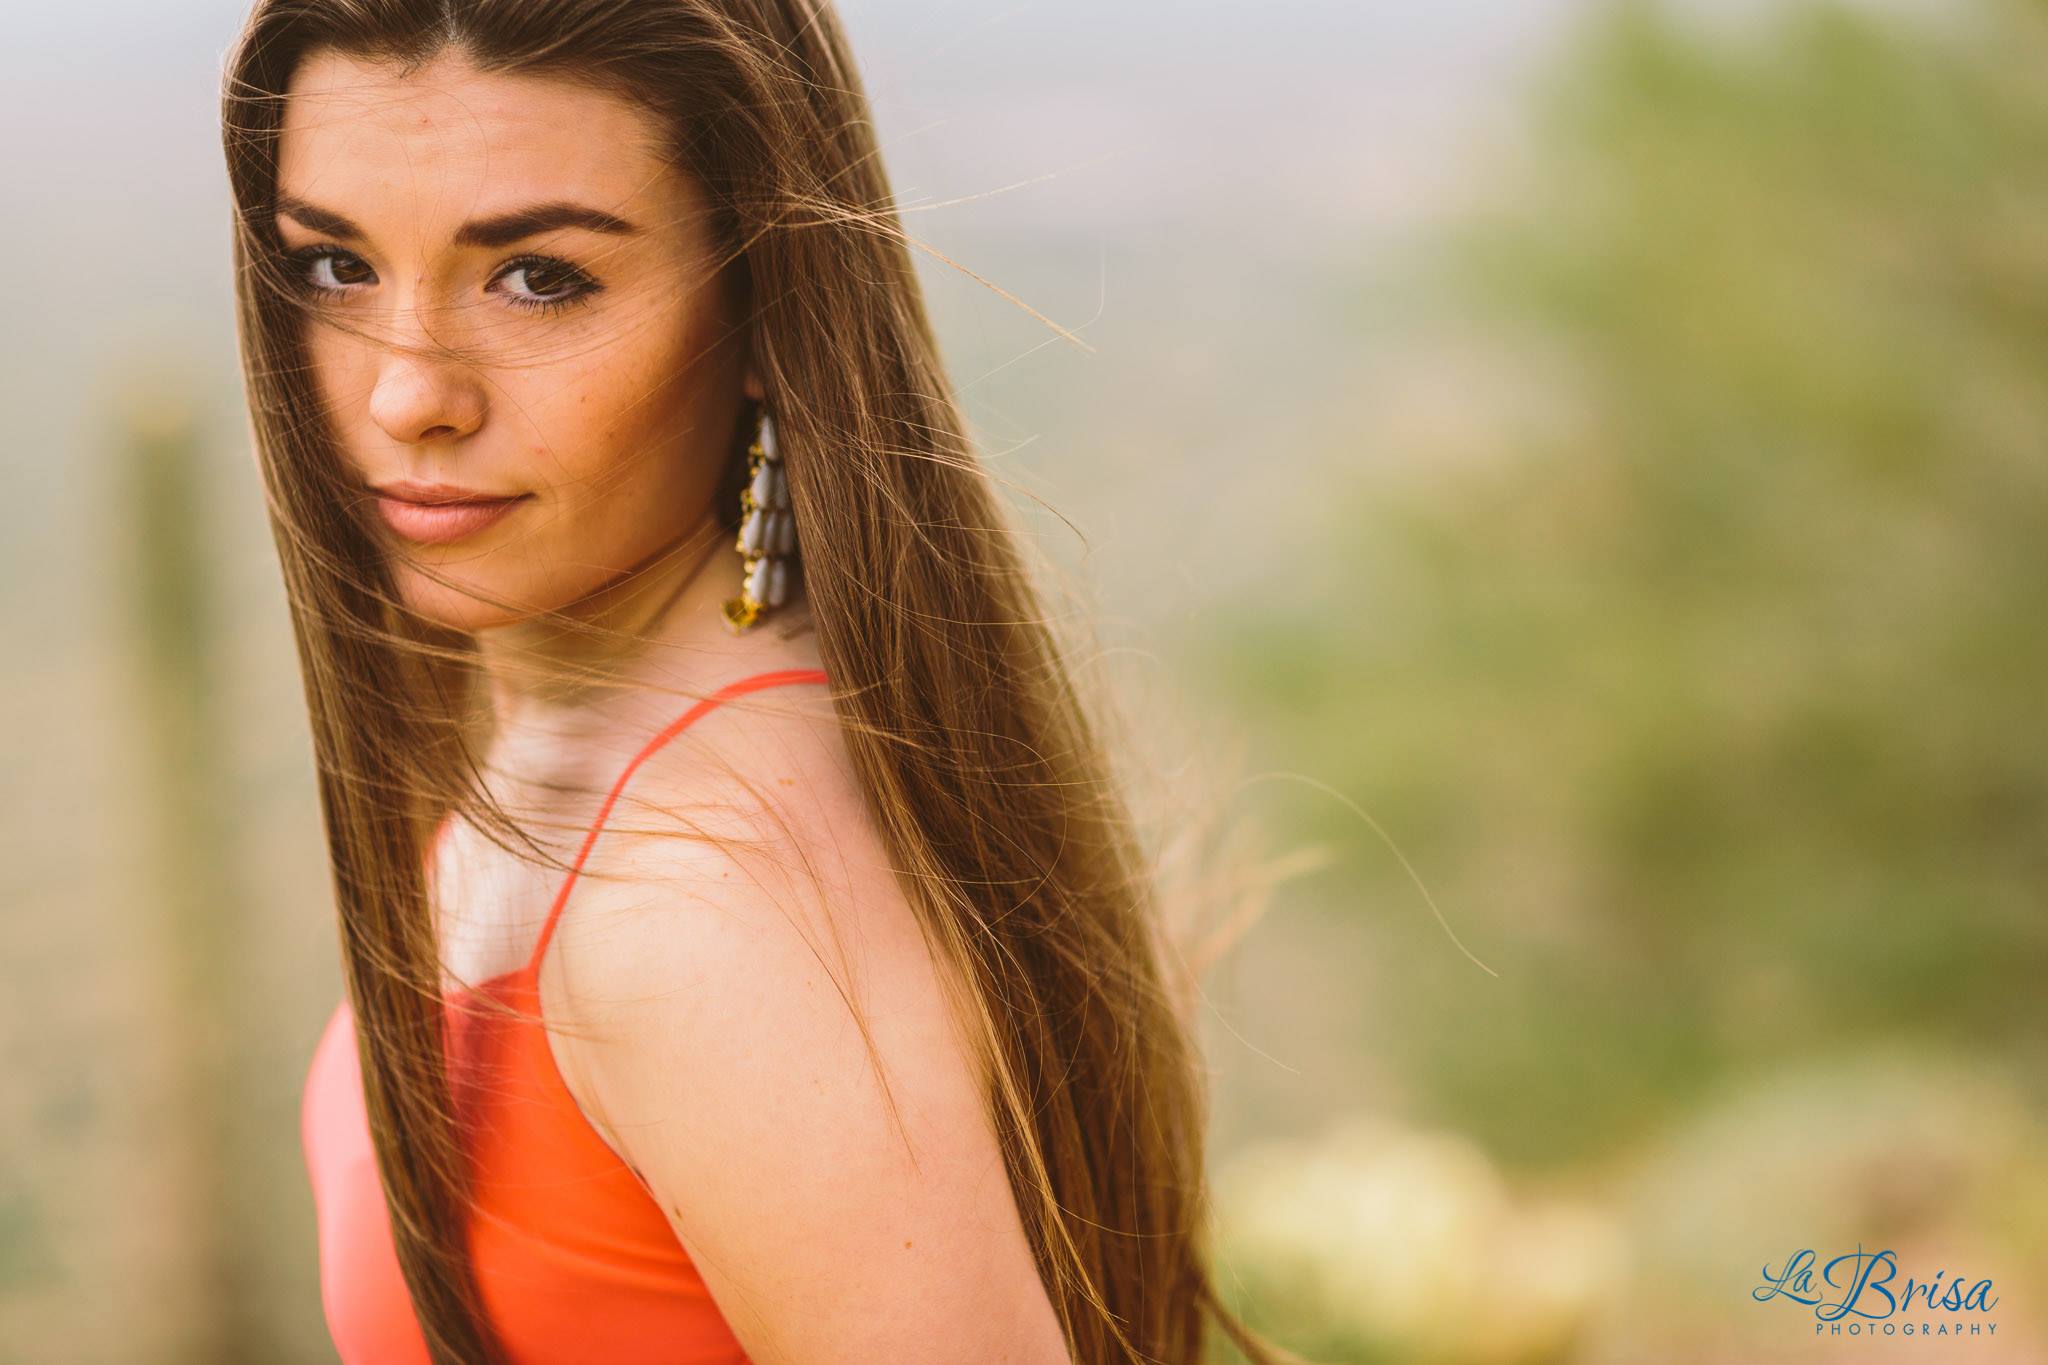
Chris Hsieh - www.labrisaphotography.com - www.facebook.com/LaBrisaPhotography
Seriously Chris nails it ever time.
Just a few more examples just to get the idea. Melissa placed the cake in in the third using a large aperture to blur the background and bring your focus to the subject. Bill took this photo and literally split the photo into thirds. Great use of the tree and it makes for an interesting photo. Be sure to check out their work in the links below.


Melissa Deck - www.Melissadeck.com www.facebook.com/ohtheplacesphoto
Bill Bonner - www.reign.photography - www.facebook.com/reignphotography
3. Have a clear subject
This is one of my personal rules. I have been asked several times for a photo critique and there is no real element to the photo that I can see what the subject is. So before you hit the shutter button think about what you want to achieve.
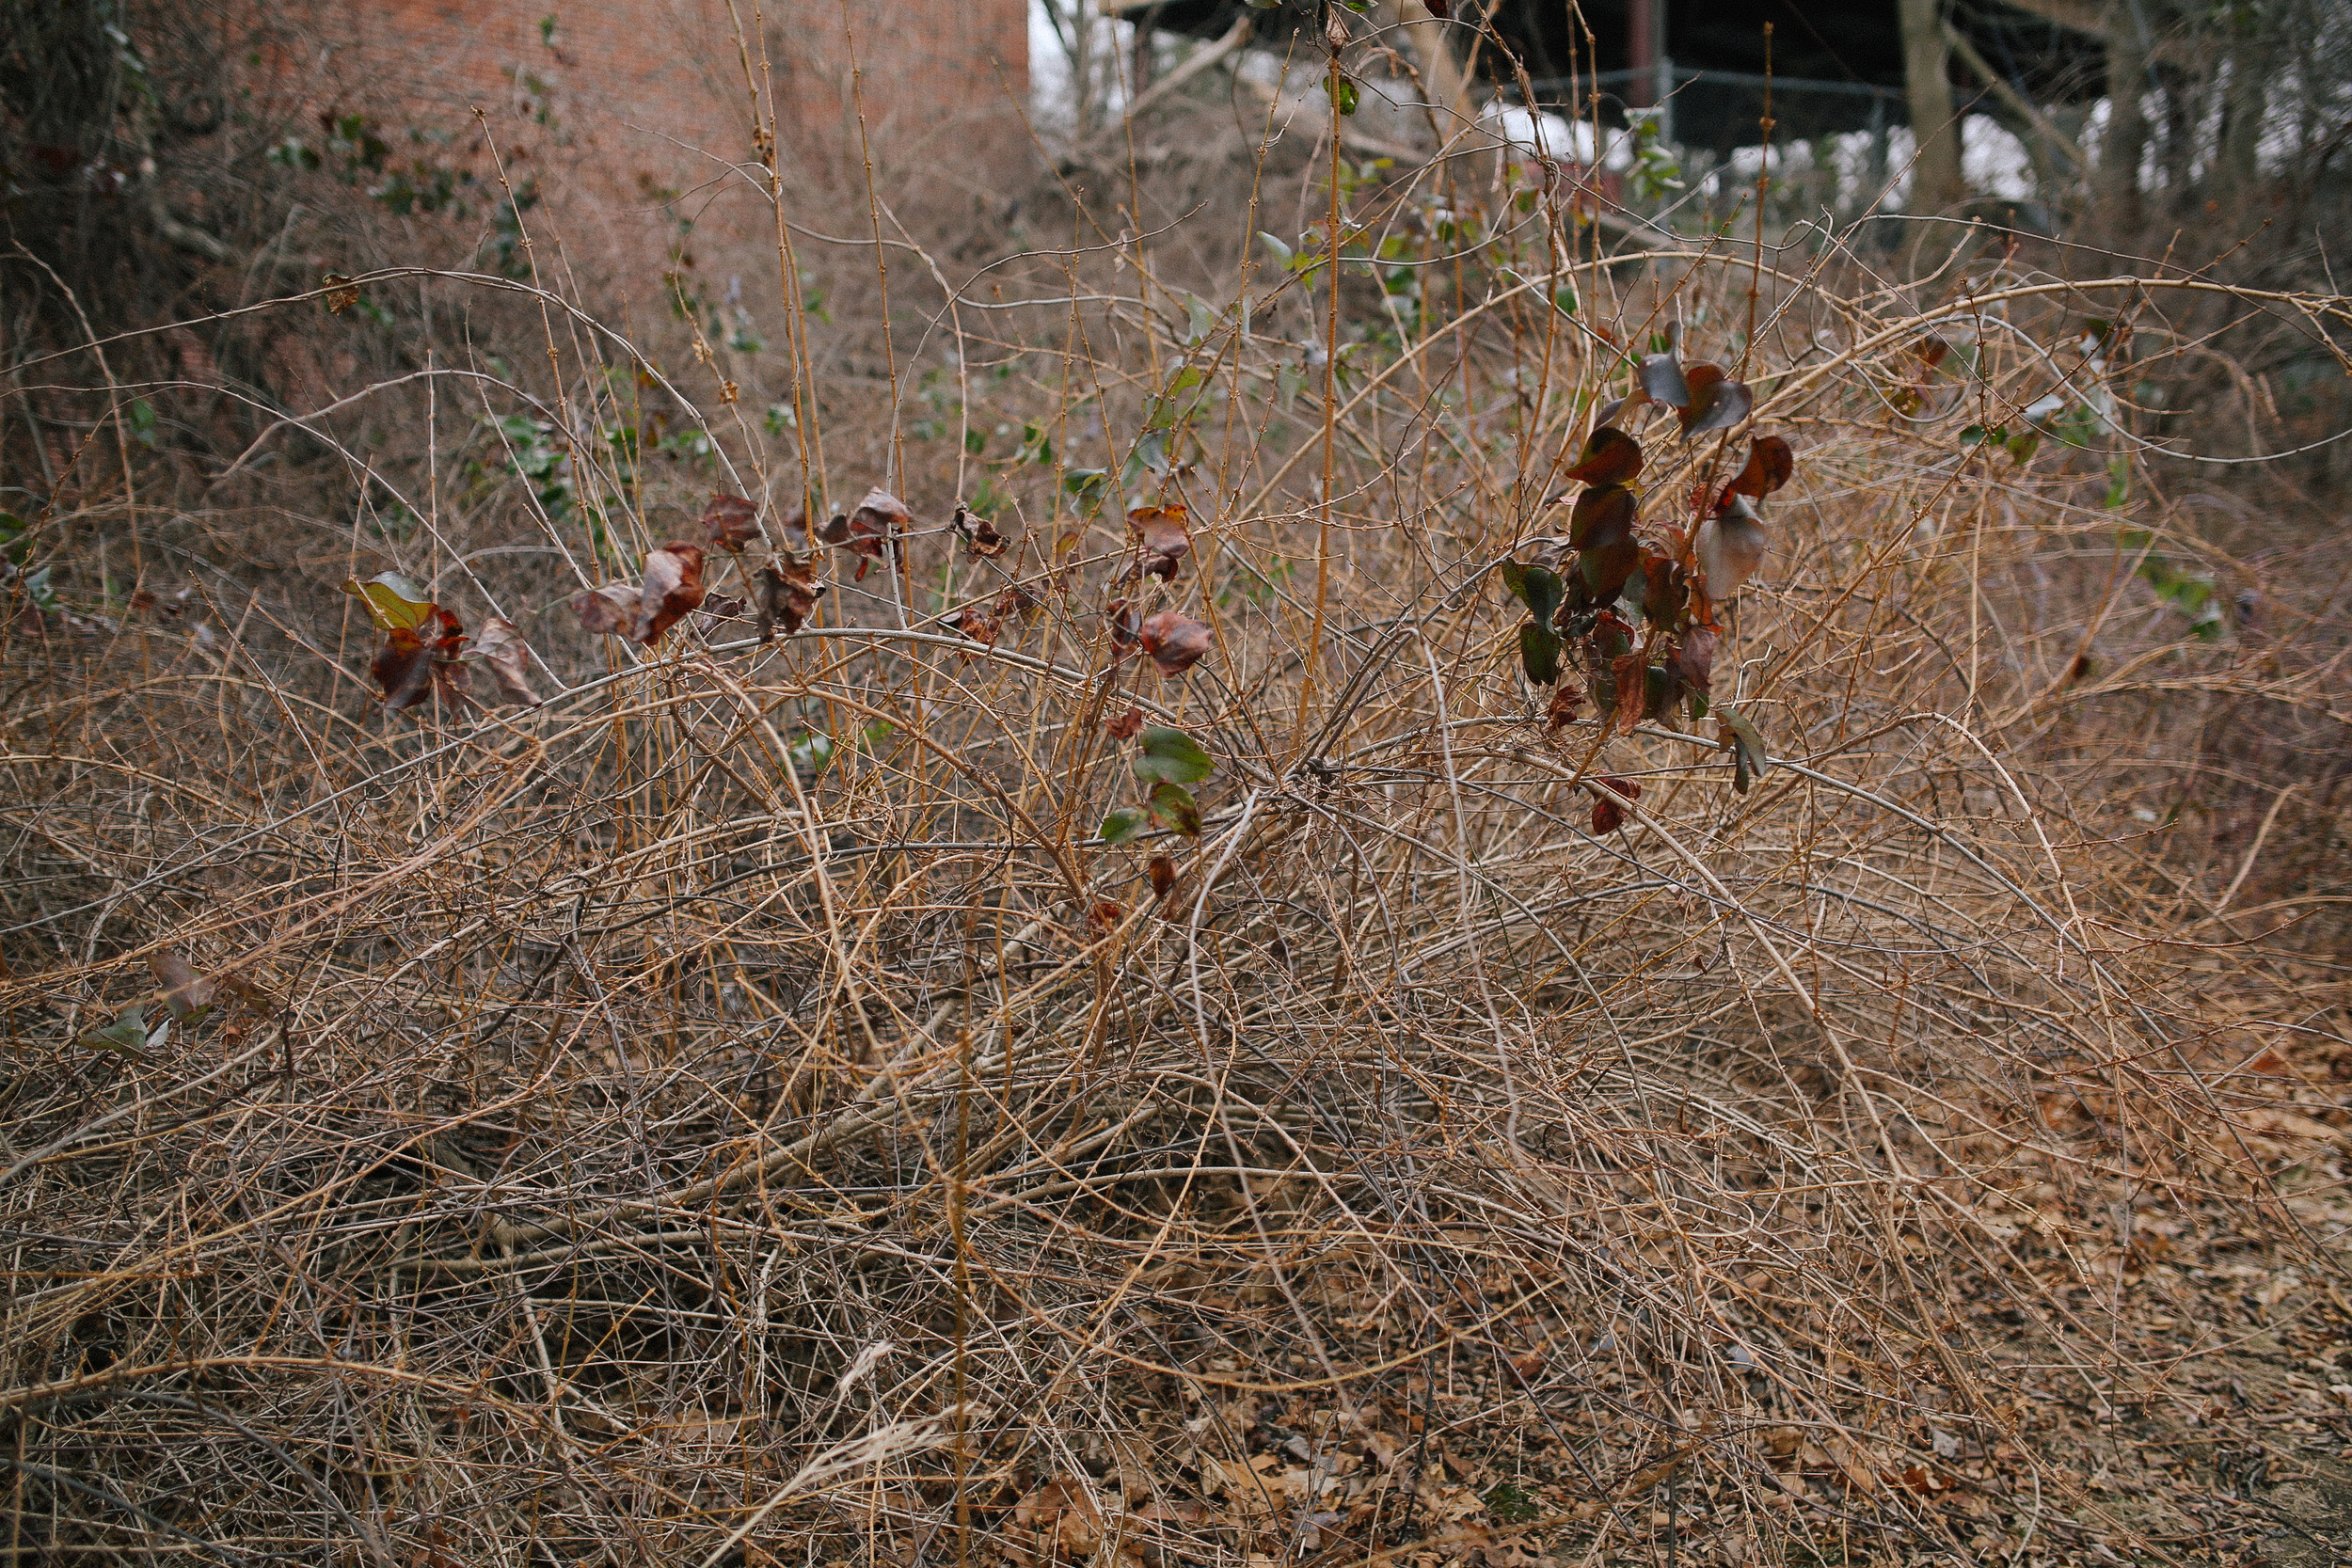
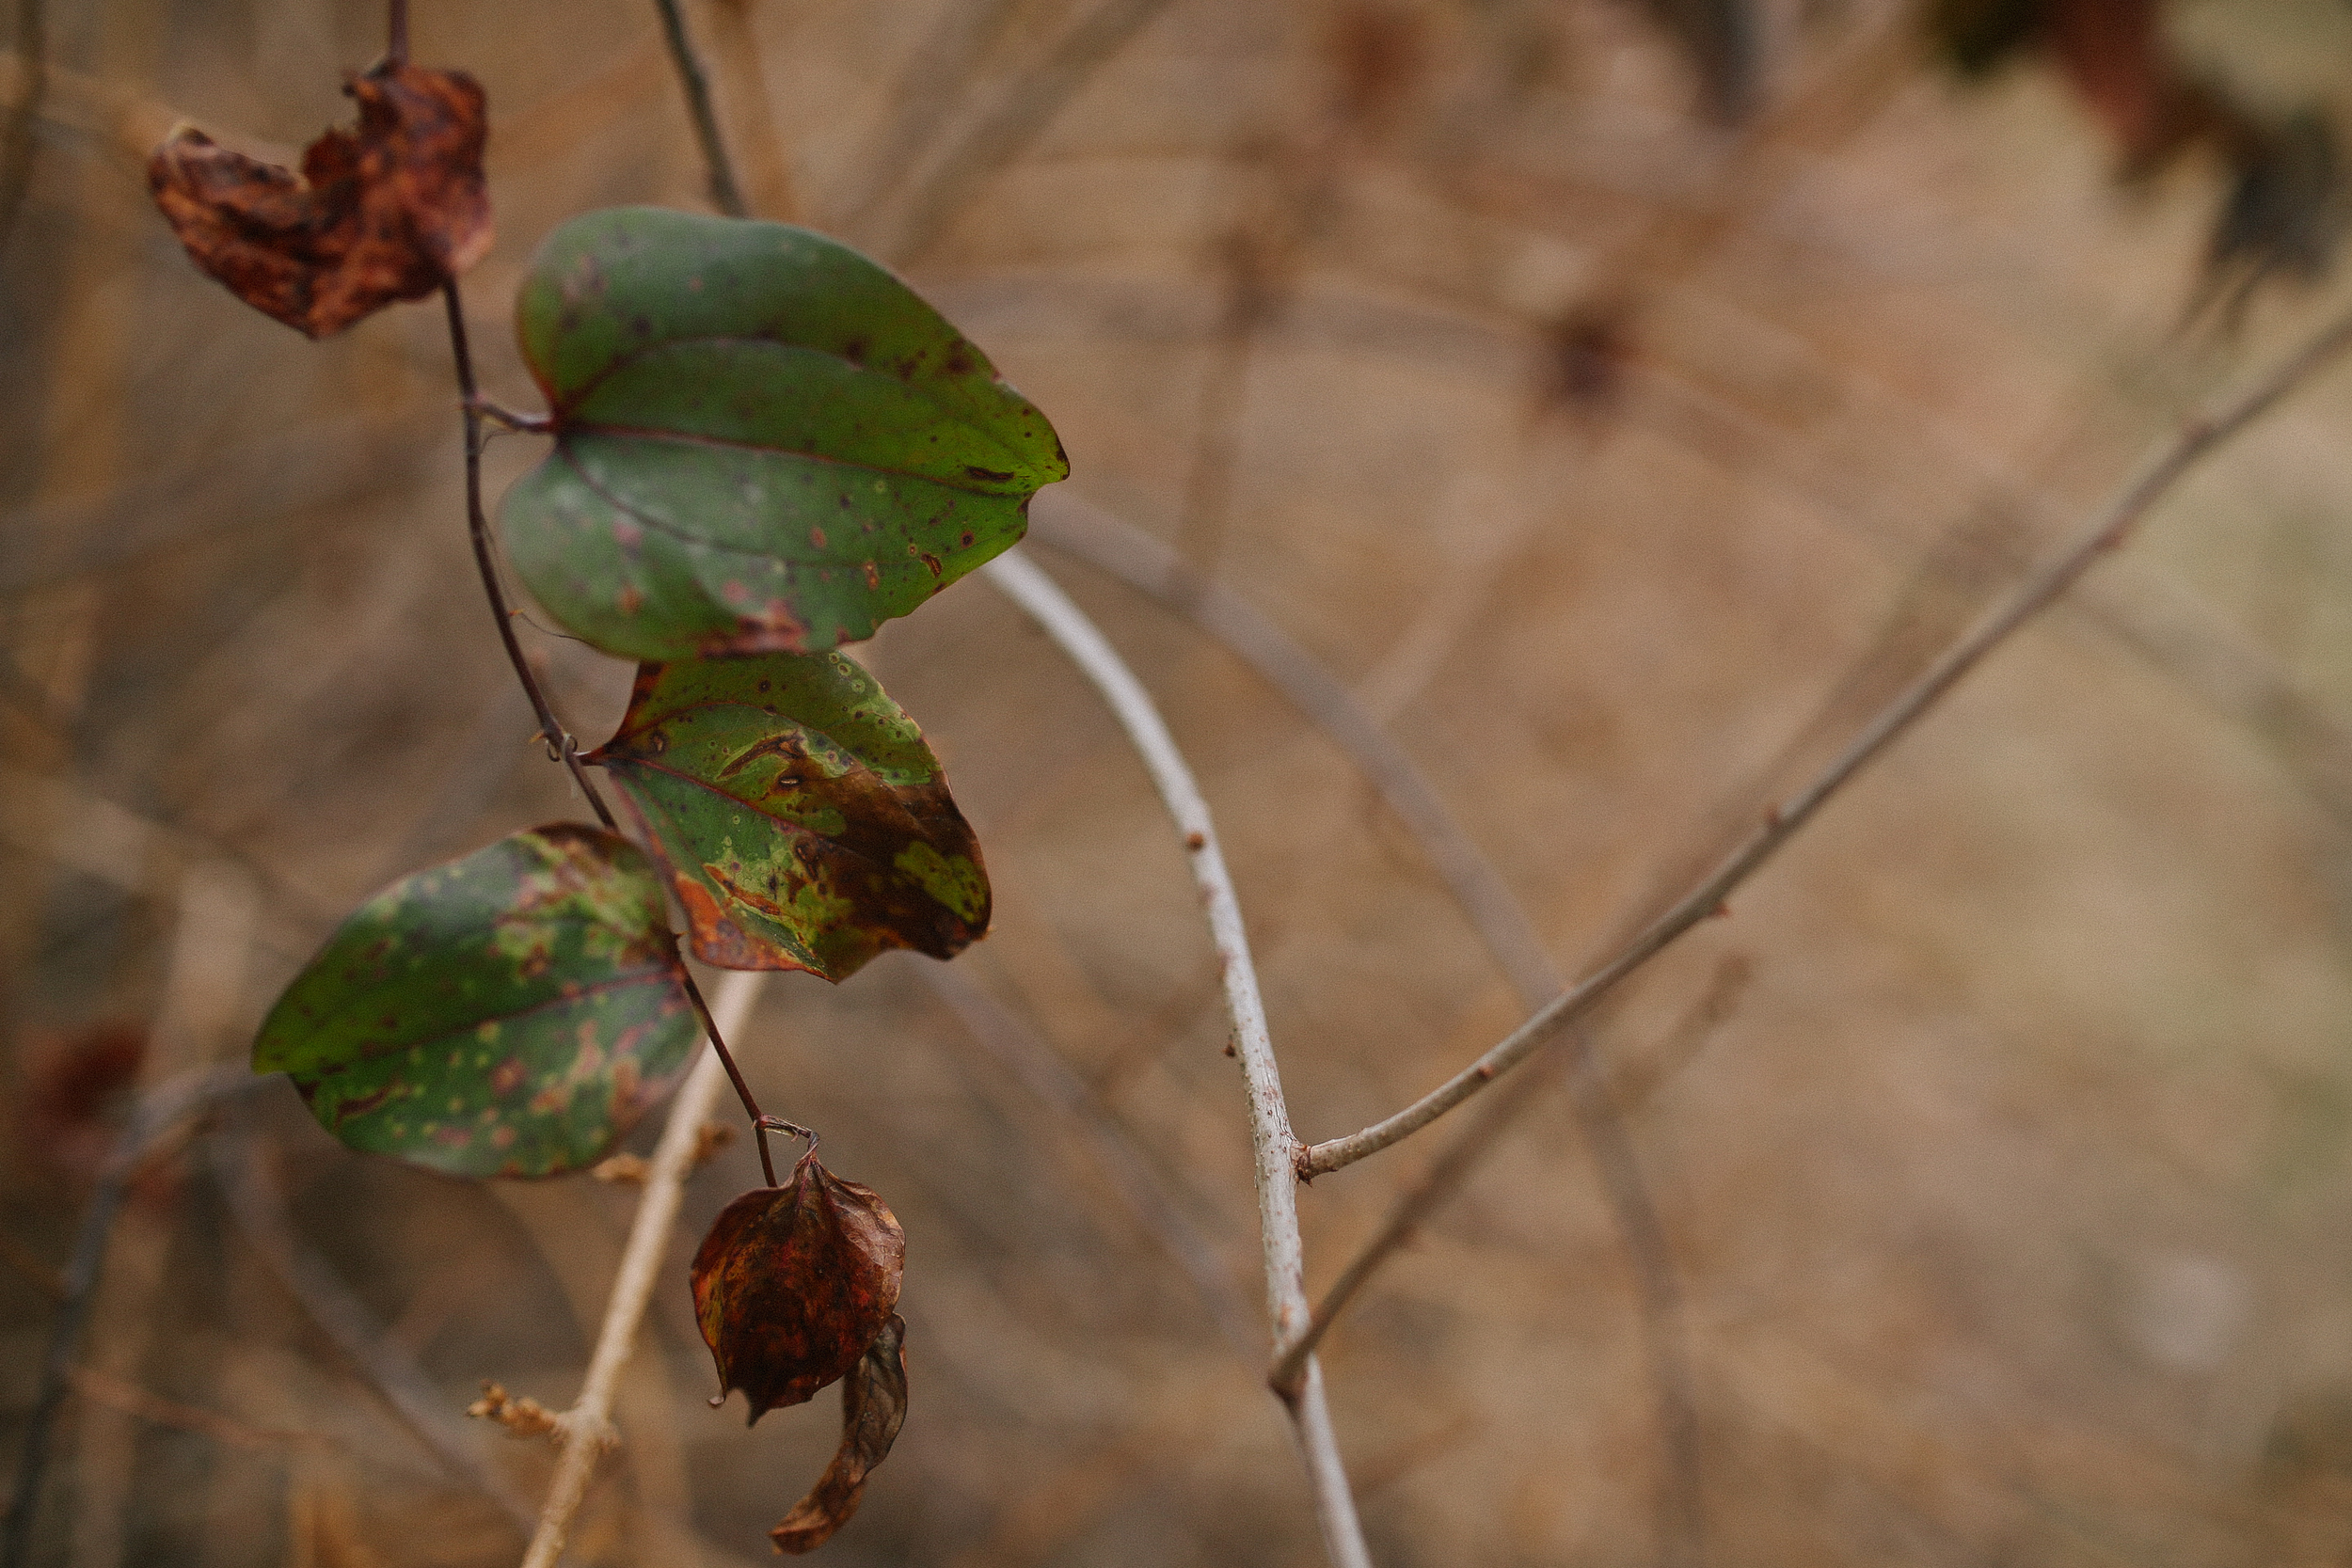
I took the above photos in my backyard as an example of having a clear subject so I could try to illustrate the rule. The above photo is a wide shot of some plant life. The below is a close up of one of the leaves. The above photo has no real clear subject. Whereas the bottom photo I took the time to look and find a subject, frame it up and snapped the photo. There are many times as a new photographer that we just snap away. This is great, because we learn a lot. But with the invention on digital photography we do not slow down and look before shooting. several years ago I started shooting film photography for my personal work. What I noticed was even on walk abouts around town my photos were better. I only had 24-36 frames to shoot so I was taking my time and not just shooting everything I saw. Then it reflected into my wedding work. I used to shoot around 5,000 photos and give my clients about 10%. Now I shoot approximately 2,000 and give about 30%. I found that slowing down and looking before I shoot has allowed me to spend less time at the computer and give my clients better photos.